Newsletters, public previews, and more
I was confused about how newsletter settings worked. Maybe you were, too.
Ghost is an awesome way to use your creative content as both a newsletter and a blog post. (Oh, are blogs out of style in 2023? OK, fine. It's a great way to have both an emailed newsletter and an online newsletter archive.) I was confused about exactly how all the newsletter and post settings go together. Here's my attempt to document my learning and hopefully save you some time!
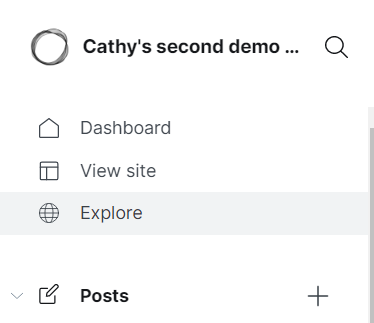
You start a newsletter by going into the Admin panel and clicking the + next to posts. Yes, even if it's going to be email only, it's a post.
Give your post a title, pick a featured image (especially important for web posting), and let's get started! First up is the email content card. This is for content that you want only email recipients to receive. It won't show up in the archive/on the blog.
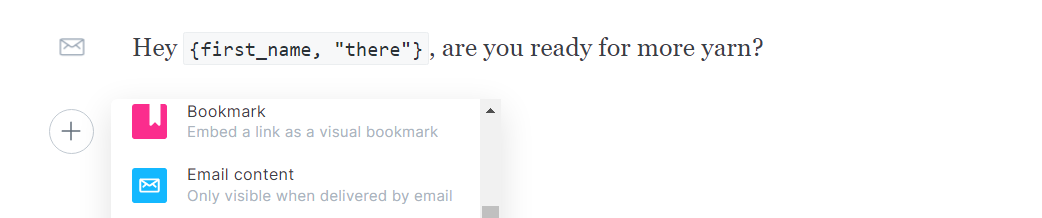
I've played with the {} syntax to see if it'll take anything other than first_name, without much success. I guess I need to read the source code?
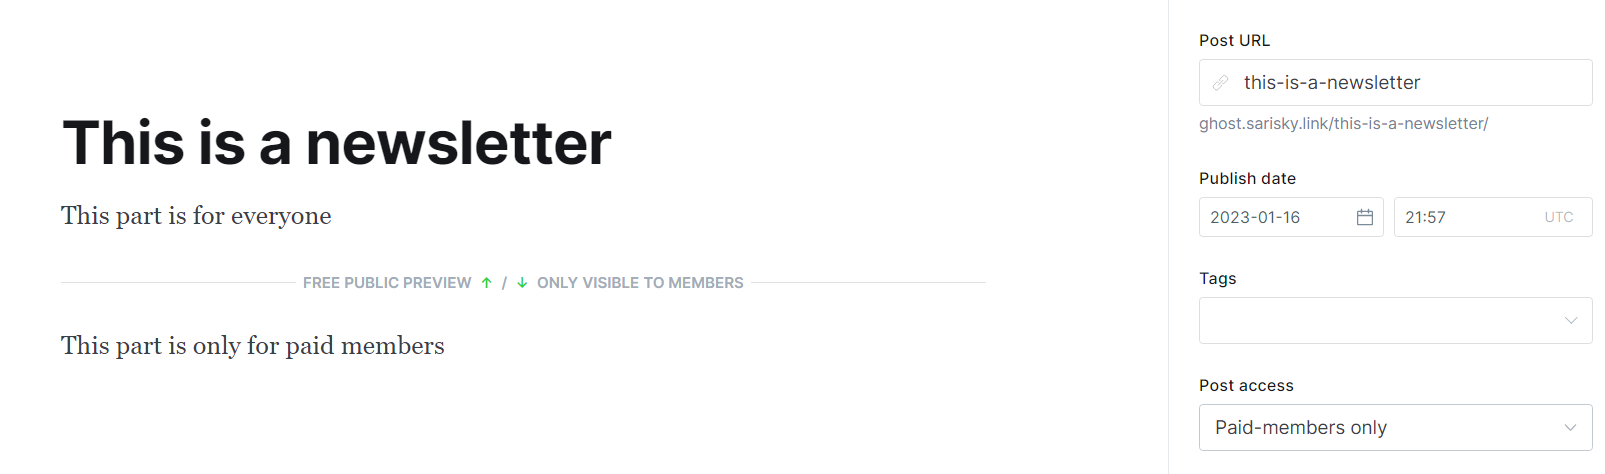
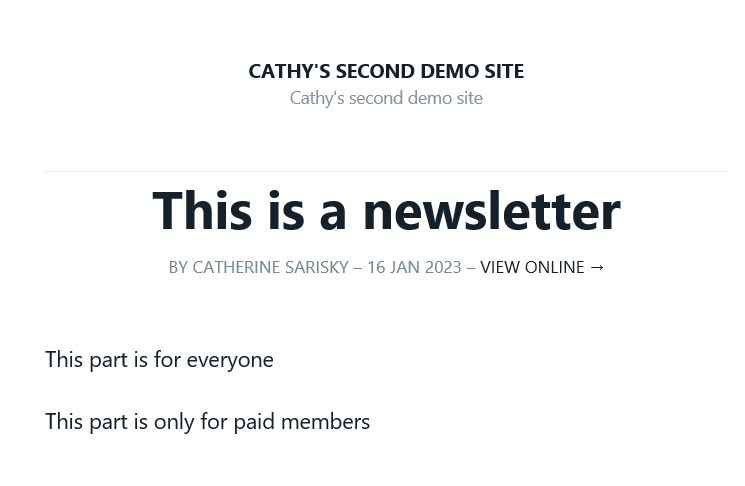
Let's create a newsletter, with a public preview line!
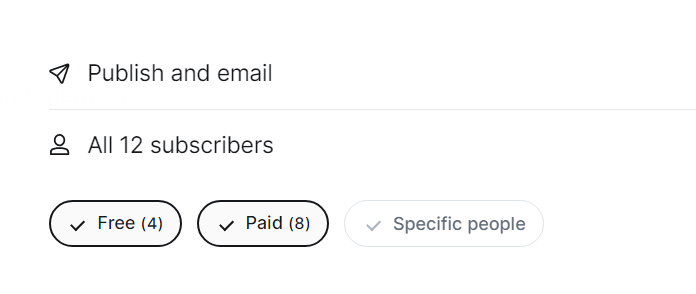
We'll send it by selecting all subscribers, so that free subscribers can read the first part.
Free user receives:
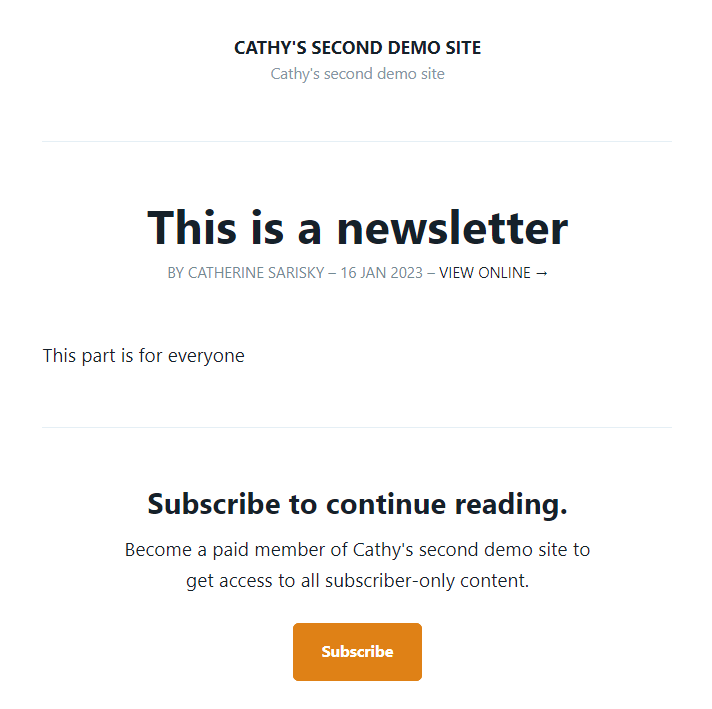
The paid user receives:
If you're emailing and publishing, the behavior will be similar on the web. Users with access will see the full post, while users without access will see anything above the "public preview" line, followed by a "call to action" section telling them to subscribe or upgrade.